A closer look at Dell PowerProtect Data Manager (Part 3)
If we browse to Infrastructure -> Asset Sources, we can view a variety of workload options that can be configured for protection.
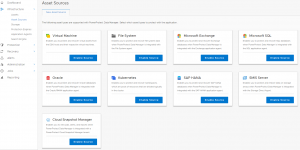
We'll configure a standard VMWare backup by enabling the source and adding the vCenter information:
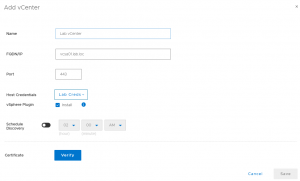
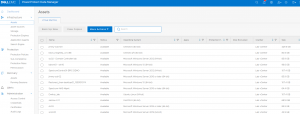
Once the vCenter has been added, we can browse to Infrastructure -> Assets to view all of the VMs. You can also connect additional vCenter servers as needed.
We'll create a new Protection Policy to backup selected VMs. This is done under Protection -> Protection Policies.
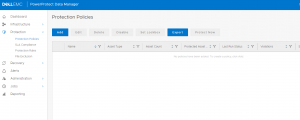
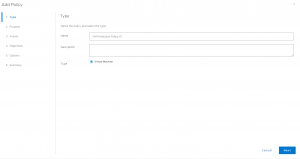
Click Add, then type in the desired name for the new policy:
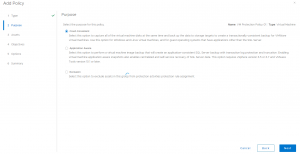
Next we'll specify whether the policy is crash-consistent or app-aware. Keep in mind that the Application Aware option is mainly used for VMs running SQL Server. This would allow you to run a single protection policy that protects both the VM image and the SQL application.
In most cases for VM backups, Crash Consistent is the go-to option.
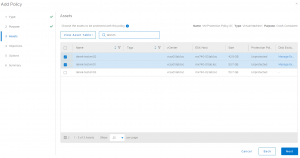
We'll then select the VM assets to be protected by this policy. Only VMs that are not already part of an existing protection policy can be selected here.
We can setup just the Primary Backup, or we can add optional post-backup data movement or archiving such as Replication or Cloud Tier.
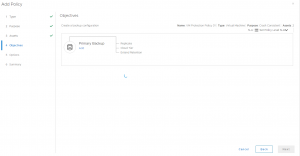
Specify the interfaces, schedule, and retention length for the primary backup:
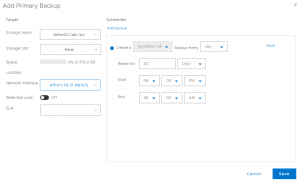
Since we have two Data Domains configured, we can go ahead and configure replication. The Objective workflow will end up looking like this:

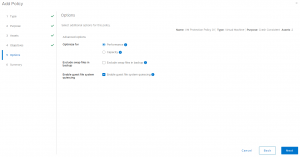
Finally, we can select whether to optimize the backups for performance or capacity efficiency, then click Next and Finish.
The protection policy will start at its scheduled time, but you can always kick it off manually. The process for configuring a policy is very similar for other workloads (SQL, Exchange, etc).
PPDM has been evolving quite rapidly over the last couple of years. I'm expecting more cool features to be added in the future. In my opinion, it's the most intuitive product in Dell's Data Protection Suite.
